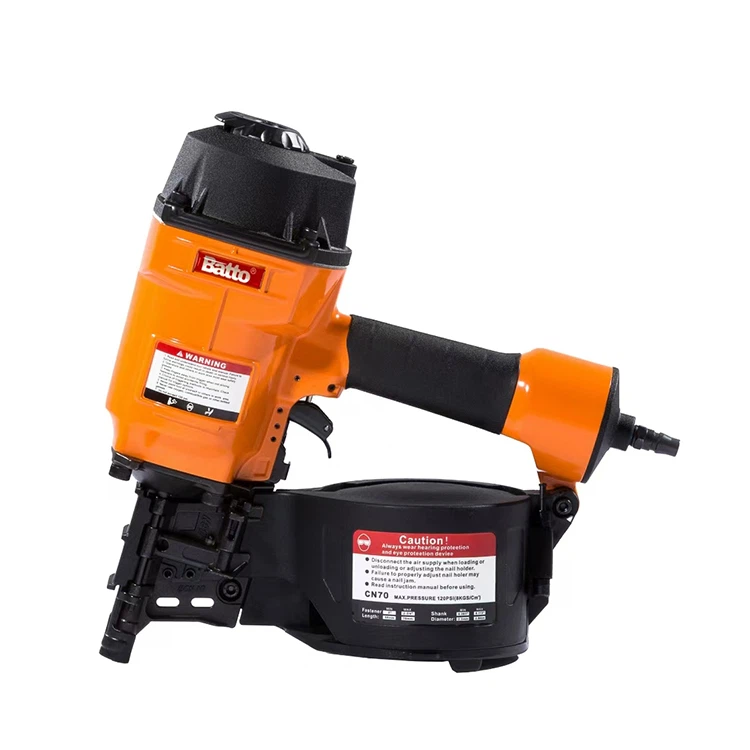
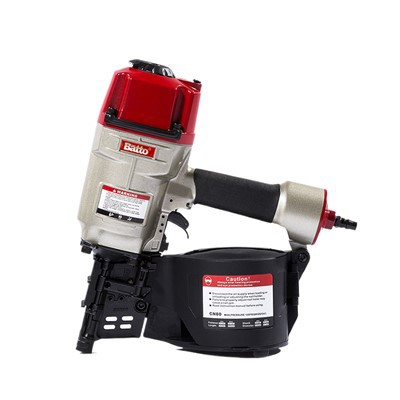
If you're a professional contractor or a DIY enthusiast, you know how essential a pneumatic nail gun is for your projects. It's a powerful tool that can drive nails quickly and efficiently, saving you time and effort. However, like any tool, it requires proper maintenance to ensure its optimal performance. One common issue that users may encounter is a wet pneumatic nail gun nozzle. In this blog post, I'll share some insights on what to do if your pneumatic nail gun nozzle gets wet, drawing from my experience as a pneumatic nail gun nozzle supplier.
Understanding the Problem
Before we dive into the solutions, it's important to understand why a wet nozzle can be a problem. Water can cause several issues for your pneumatic nail gun. First, it can corrode the metal components inside the nozzle, leading to rust and damage over time. This can affect the gun's performance and reduce its lifespan. Second, water can interfere with the proper functioning of the internal mechanisms, such as the Nail Gun Piston. Moisture can cause the piston to stick or move less smoothly, resulting in misfires or inconsistent nail driving. Third, water can contaminate the lubrication in the gun, reducing its effectiveness and potentially causing further damage to the moving parts.
Immediate Steps to Take
If you notice that your pneumatic nail gun nozzle has gotten wet, the first thing you should do is turn off the air supply and remove the nail magazine. This will prevent any further damage and allow you to safely inspect the gun. Next, use a dry cloth or paper towel to gently wipe away any visible water from the outside of the nozzle. Be careful not to force any water into the gun's internal components.
Drying the Nozzle
Once you've removed the visible water, it's time to dry the nozzle thoroughly. There are several methods you can use to do this:
- Air Drying: Place the nail gun in a well-ventilated area and allow it to air dry naturally. This is the simplest and safest method, but it may take several hours or even days depending on the amount of moisture. Make sure to keep the gun in an upright position to allow any water to drain out.
- Using a Hairdryer: Set your hairdryer to a low, warm setting and hold it several inches away from the nozzle. Move the hairdryer around the nozzle in a circular motion to evenly distribute the heat. Be careful not to overheat the gun, as this can damage the plastic or rubber components. Keep the hairdryer moving constantly to prevent any hot spots.
- Silica Gel Packs: Place the nail gun in a sealed plastic bag along with several silica gel packs. Silica gel is a desiccant that can absorb moisture from the air. Leave the gun in the bag for at least 24 hours to allow the silica gel to do its job.
Inspecting the Internal Components
After the nozzle is dry, it's important to inspect the internal components for any signs of damage or corrosion. You can do this by removing the nozzle from the gun and visually examining it. Look for any rust, discoloration, or signs of wear on the metal parts. Check the Pneumatic Nail Gun Valve Set and the Pneumatic Nail Gun O-ring Seal Kit for any signs of damage or leakage. If you notice any issues, it's best to replace the damaged parts before using the gun again.
Lubricating the Gun
Once you've inspected the internal components and replaced any damaged parts, it's time to lubricate the gun. Lubrication is essential for the proper functioning of the pneumatic nail gun, as it reduces friction between the moving parts and prevents wear and tear. Use a high-quality pneumatic tool oil specifically designed for nail guns. Apply a few drops of oil to the air inlet and the moving parts of the gun, following the manufacturer's instructions.


Testing the Gun
After lubricating the gun, it's time to test it to make sure it's working properly. Reattach the nail magazine and turn on the air supply. Fire a few nails into a scrap piece of wood to check for any misfires or inconsistent nail driving. If the gun is working properly, you should be able to drive nails smoothly and consistently. If you notice any issues, such as misfires or weak nail driving, it may be necessary to further inspect the gun or seek professional repair.
Preventing Future Issues
To prevent your pneumatic nail gun nozzle from getting wet in the future, there are several steps you can take:
- Store the Gun Properly: When not in use, store the nail gun in a dry, cool place. Avoid storing it in areas where it may be exposed to moisture, such as basements or garages.
- Use a Moisture Trap: Install a moisture trap in your air compressor system. A moisture trap can remove water and other contaminants from the compressed air before it reaches the nail gun, reducing the risk of moisture damage.
- Keep the Gun Clean: Regularly clean the nail gun to remove any dirt, debris, or moisture that may accumulate on the nozzle and other parts. Use a soft brush or cloth to gently clean the gun, and avoid using harsh chemicals or abrasive materials.
- Inspect the Gun Regularly: Make it a habit to inspect your nail gun regularly for any signs of wear, damage, or moisture. This will allow you to catch any issues early and take appropriate action to prevent further damage.
Conclusion
A wet pneumatic nail gun nozzle can be a frustrating problem, but it doesn't have to be a major setback. By following the steps outlined in this blog post, you can effectively dry the nozzle, inspect the internal components, lubricate the gun, and test it to ensure its proper functioning. Remember to take preventive measures to avoid future issues and keep your nail gun in good working condition.
As a pneumatic nail gun nozzle supplier, I understand the importance of having a reliable and high-quality tool. If you have any questions or need further assistance with your nail gun, please don't hesitate to contact me. I'm here to help you find the right solutions for your needs and ensure that your projects run smoothly. Whether you're looking for replacement parts, maintenance tips, or advice on choosing the right nail gun, I'm happy to provide you with the information and support you need. Contact me today to start a conversation about your pneumatic nail gun requirements.
References
- Manufacturer's instructions for your specific pneumatic nail gun model.
- Industry standards and best practices for pneumatic tool maintenance.