Adjusting the depth of a coil nailer is a crucial skill that can significantly impact the quality and efficiency of your nailing tasks. As a coil nailer supplier, I've had the privilege of working with a wide range of professionals and DIY enthusiasts, and I understand the importance of getting this adjustment right. In this blog post, I'll share some in-depth insights on how to adjust the depth of a coil nailer effectively.
Understanding the Importance of Depth Adjustment
Before we dive into the adjustment process, it's essential to understand why depth adjustment matters. The depth at which nails are driven into the material can affect the structural integrity of the project, the appearance of the finished work, and the safety of the operator. If the nails are driven too shallow, they may not hold the materials together securely, leading to a weak joint. On the other hand, if the nails are driven too deep, they can damage the material, cause splitting, or even compromise the structural integrity of the project.
Types of Coil Nailers and Their Depth Adjustment Mechanisms
There are several types of coil nailers available on the market, each with its own unique depth adjustment mechanism. The most common types include pneumatic coil nailers, electric coil nailers, and gas-powered coil nailers.
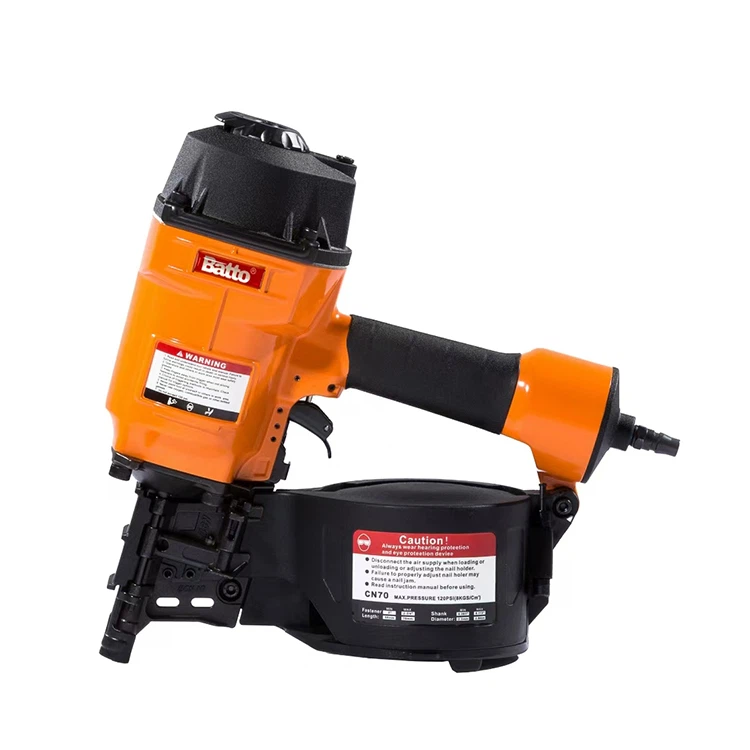
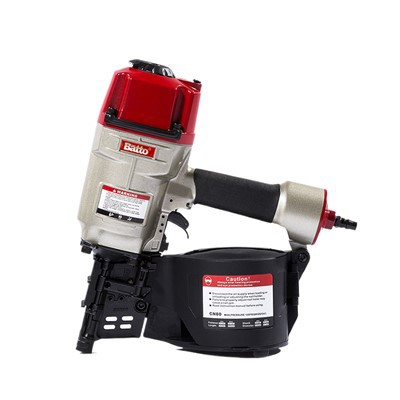
- Pneumatic Coil Nailers: These are the most widely used type of coil nailers. They are powered by compressed air and are known for their high power and reliability. Pneumatic coil nailers typically have a depth adjustment knob or screw that allows you to control the depth of the nails. For example, our CN90 Heavy Duty Industrial Pneumatic Coil Siding Nailer Coil Framing Nailer features a simple yet effective depth adjustment mechanism that allows you to fine-tune the nail depth with ease.
- Electric Coil Nailers: Electric coil nailers are powered by electricity and are a popular choice for DIYers and light-duty applications. They are generally more compact and lightweight than pneumatic nailers, making them easier to handle. Electric coil nailers usually have a depth adjustment switch or lever that allows you to select the desired nail depth. Our Pneumatic Coil Siding Nail Gun offers a convenient depth adjustment feature that ensures consistent and accurate nail placement.
- Gas-Powered Coil Nailers: Gas-powered coil nailers are powered by a small gas cartridge and are ideal for outdoor applications where access to electricity or compressed air is limited. They offer the same level of power and performance as pneumatic nailers but without the need for a compressor or power cord. Gas-powered coil nailers typically have a depth adjustment dial or knob that allows you to adjust the nail depth. Our MAX Style Cn80 Pneumatic Coil Nailer for Framing and Siding is a versatile gas-powered nailer that provides precise depth adjustment for a variety of nailing tasks.
Step-by-Step Guide to Adjusting the Depth of a Coil Nailer
Now that you understand the different types of coil nailers and their depth adjustment mechanisms, let's walk through the step-by-step process of adjusting the depth of a coil nailer.
Step 1: Prepare the Nailer
Before you start adjusting the depth of the nailer, make sure it is turned off and disconnected from the power source (if it's an electric or gas-powered nailer) or the air supply (if it's a pneumatic nailer). This will prevent any accidental firing of the nailer and ensure your safety.
Step 2: Select the Right Nail Size
The depth adjustment of a coil nailer is often based on the size of the nails you are using. Make sure you select the appropriate nail size for your project and ensure that the nailer is compatible with the nail size. Refer to the manufacturer's instructions for the recommended nail sizes for your specific nailer.
Step 3: Locate the Depth Adjustment Mechanism
As mentioned earlier, the depth adjustment mechanism varies depending on the type of coil nailer you are using. Look for the depth adjustment knob, screw, switch, lever, or dial on the nailer. It is usually located near the nose of the nailer or on the side of the tool.
Step 4: Make Initial Adjustments
Start by making a few test nails on a scrap piece of the same material you will be using for your project. This will allow you to see how the nails are being driven and make any necessary adjustments. If the nails are being driven too shallow, turn the depth adjustment knob or screw clockwise to increase the depth. If the nails are being driven too deep, turn the knob or screw counterclockwise to decrease the depth.


Step 5: Fine-Tune the Adjustment
After making the initial adjustments, continue to make test nails and fine-tune the depth adjustment until you achieve the desired nail depth. It may take a few tries to get the adjustment just right, so be patient and take your time.
Step 6: Test the Nailer on the Project
Once you are satisfied with the depth adjustment on the scrap piece of material, test the nailer on a small, inconspicuous area of your project. This will ensure that the nails are being driven at the correct depth and that the nailer is working properly.
Tips for Adjusting the Depth of a Coil Nailer
- Read the Manufacturer's Instructions: Always refer to the manufacturer's instructions for your specific coil nailer before making any adjustments. The instructions will provide detailed information on how to adjust the depth of the nailer and any other important safety and operating procedures.
- Use a Depth Gauge: If you want to ensure precise and consistent nail depth, you can use a depth gauge. A depth gauge is a simple tool that allows you to measure the depth of the nails and make accurate adjustments.
- Test Different Materials: Different materials may require different nail depths. Make sure you test the nailer on a scrap piece of the same material you will be using for your project to ensure the correct nail depth.
- Keep the Nailer Clean and Maintained: A dirty or poorly maintained nailer may not perform properly and can affect the depth adjustment. Regularly clean and lubricate the nailer according to the manufacturer's instructions to ensure optimal performance.
Conclusion
Adjusting the depth of a coil nailer is a simple yet important process that can make a significant difference in the quality and efficiency of your nailing tasks. By following the steps outlined in this blog post and using the tips provided, you can ensure that your nails are being driven at the correct depth and that your projects turn out looking great.
If you're in the market for a high-quality coil nailer or need further assistance with adjusting the depth of your nailer, please don't hesitate to contact us. We're a leading coil nailer supplier, and we're committed to providing our customers with the best products and services. Let's start a conversation about your nailing needs and find the perfect solution for your projects.
References
- Manufacturer's instructions for various coil nailers.
- Industry standards and best practices for nailing.