Aligning nails in a coil nailer is a crucial skill that can significantly impact the efficiency and quality of your nailing tasks. As a coil nailer supplier, I understand the importance of this process and have seen firsthand how proper alignment can make a world of difference in various construction and DIY projects. In this blog post, I'll share some in - depth insights on how to align the nails in a coil nailer, along with tips and best practices.
Understanding the Coil Nailer
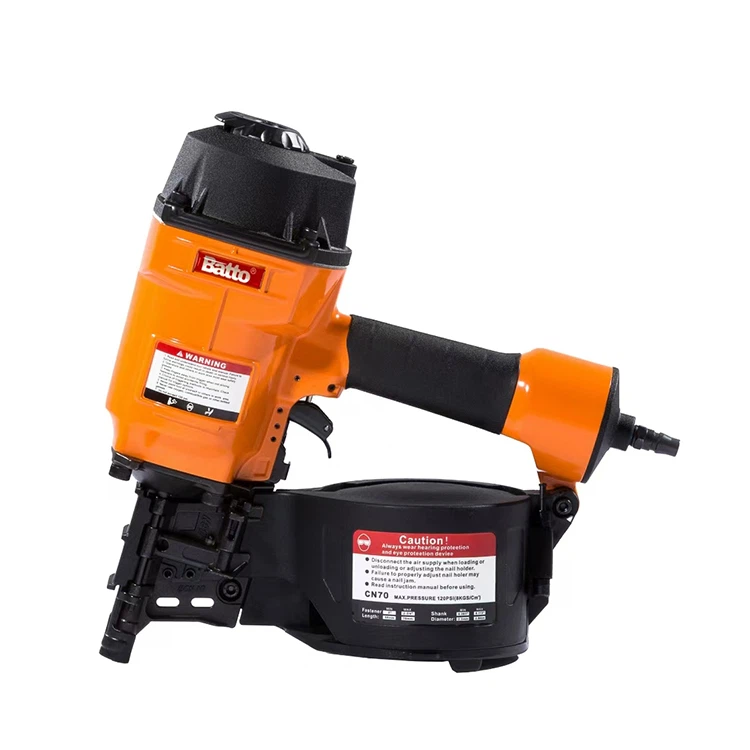
Before we dive into the alignment process, it's essential to understand the basic components of a coil nailer. A typical coil nailer consists of a magazine that holds the coil of nails, a driver blade that pushes the nails out, an air chamber (for pneumatic nailers) or a power source (for electric or battery - powered ones), and a nosepiece through which the nails are ejected.
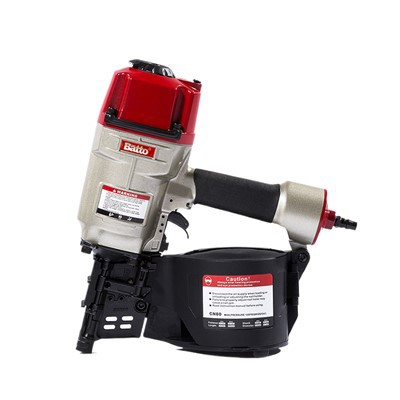
The nails in a coil nailer are held together by a plastic or wire collation. This collation allows the nails to be fed smoothly through the magazine and into the firing mechanism. Different types of coil nailers are designed for specific applications, such as framing, siding, or roofing. For example, our CN100 Heavy Duty Industrial Coil Framing Nailer is ideal for heavy - duty framing tasks, while the CN55 Pneumatic Coil Siding Nailer for Pallet Fence Framing and Roofing is great for more delicate siding work.
Pre - alignment Checks
- Inspect the Magazine: Before attempting to align the nails, carefully examine the magazine. Make sure it is clean and free of any debris, old nails, or dirt. A dirty magazine can cause jams and misalignments. Use a small brush or compressed air to clean out the magazine if necessary.
- Check the Nails: Ensure that the nails you are using are the correct size and type for your coil nailer. Using the wrong nails can lead to misfeeds and alignment issues. Refer to the user manual of your nailer to determine the appropriate nail specifications.
- Examine the Collation: The collation of the nails should be in good condition. If the collation is damaged or broken, it can cause the nails to feed unevenly. Replace any damaged coils with new ones.
Step - by - Step Alignment Process
- Load the Nails: Open the magazine of the coil nailer and carefully insert the coil of nails. Make sure the nails are facing the correct direction. Most coil nailers have markings or guides to indicate the proper orientation of the nails. Once the coil is inserted, close the magazine securely.
- Adjust the Depth: The depth adjustment feature on your coil nailer allows you to control how far the nails are driven into the material. This adjustment is crucial for proper alignment. Start by setting the depth adjustment to a medium setting. Test the nailer on a scrap piece of the same material you will be using for your project. If the nails are not driven deep enough or are driven too deep, adjust the depth accordingly.
- Align the Nosepiece: The nosepiece of the coil nailer is where the nails are ejected. It should be in direct contact with the surface where you are nailing. Make sure the nosepiece is perpendicular to the surface to ensure that the nails are driven straight. You can use a level or your eye to check the alignment of the nosepiece.
- Test Fire: Before starting your project, perform a few test fires on a scrap piece of material. This will allow you to check the alignment of the nails and make any necessary adjustments. Pay attention to the angle and depth of the nails. If the nails are not going in straight, stop and re - evaluate the alignment of the nailer.
Troubleshooting Alignment Issues
- Jams: If you experience a jam in the coil nailer, it can disrupt the alignment of the nails. First, turn off the nailer and disconnect it from the power source (if it's electric or battery - powered) or the air supply (if it's pneumatic). Then, carefully remove the jammed nails from the magazine and the firing mechanism. Check for any damage to the nails or the nailer components. Once the jam is cleared, reload the nails and test the nailer again.
- Crooked Nails: If the nails are being driven in at an angle, it could be due to a misaligned nosepiece or an issue with the depth adjustment. Check the alignment of the nosepiece and make sure it is perpendicular to the surface. Also, double - check the depth adjustment to ensure that the nails are being driven in at the correct depth.
- Uneven Feeding: Uneven feeding of the nails can be caused by a damaged collation or a dirty magazine. Replace any damaged coils and clean the magazine thoroughly. You may also need to adjust the tension on the magazine if your nailer has this feature.
Best Practices for Maintaining Alignment
- Regular Maintenance: Keep your coil nailer clean and well - lubricated. Follow the maintenance schedule recommended in the user manual. Regular maintenance will help prevent misalignments and other issues.
- Proper Storage: When not in use, store your coil nailer in a dry and clean place. Protect it from dust, moisture, and physical damage. This will help maintain the alignment of the internal components.
- Use Quality Nails: Invest in high - quality nails that are designed for your coil nailer. Cheap or low - quality nails are more likely to cause alignment problems and jams.
Applications of Properly Aligned Coil Nailers
- Framing: In framing projects, properly aligned nails ensure a strong and stable structure. The CN100 Heavy Duty Industrial Coil Framing Nailer is specifically designed for this purpose. When the nails are aligned correctly, they can hold the framing members together tightly, reducing the risk of structural failure.
- Siding: For siding applications, such as installing vinyl or wood siding, proper nail alignment is essential for a professional - looking finish. The CN55 Pneumatic Coil Siding Nailer for Pallet Fence Framing and Roofing can help you achieve precise and consistent nail placement, ensuring that the siding is securely attached and looks great.
- Roofing: In roofing projects, a Pneumatic Roofing Coil Nailer Gun with properly aligned nails is crucial for preventing leaks and ensuring the longevity of the roof. Correctly aligned nails will hold the roofing materials in place, even in harsh weather conditions.
Conclusion
Aligning the nails in a coil nailer is a skill that can be mastered with practice. By following the steps outlined in this blog post, you can ensure that your nails are driven straight and at the correct depth, resulting in high - quality work and fewer issues. As a coil nailer supplier, we are committed to providing you with the best tools and support to help you achieve excellent results in your projects.


If you are interested in purchasing a coil nailer or have any questions about our products, we encourage you to contact us for a procurement discussion. Our team of experts is ready to assist you in finding the right coil nailer for your specific needs.
References
- Manufacturer's user manuals for coil nailers
- Construction industry best practices guides
- Experience and knowledge gained from supplying coil nailers to various customers over the years.